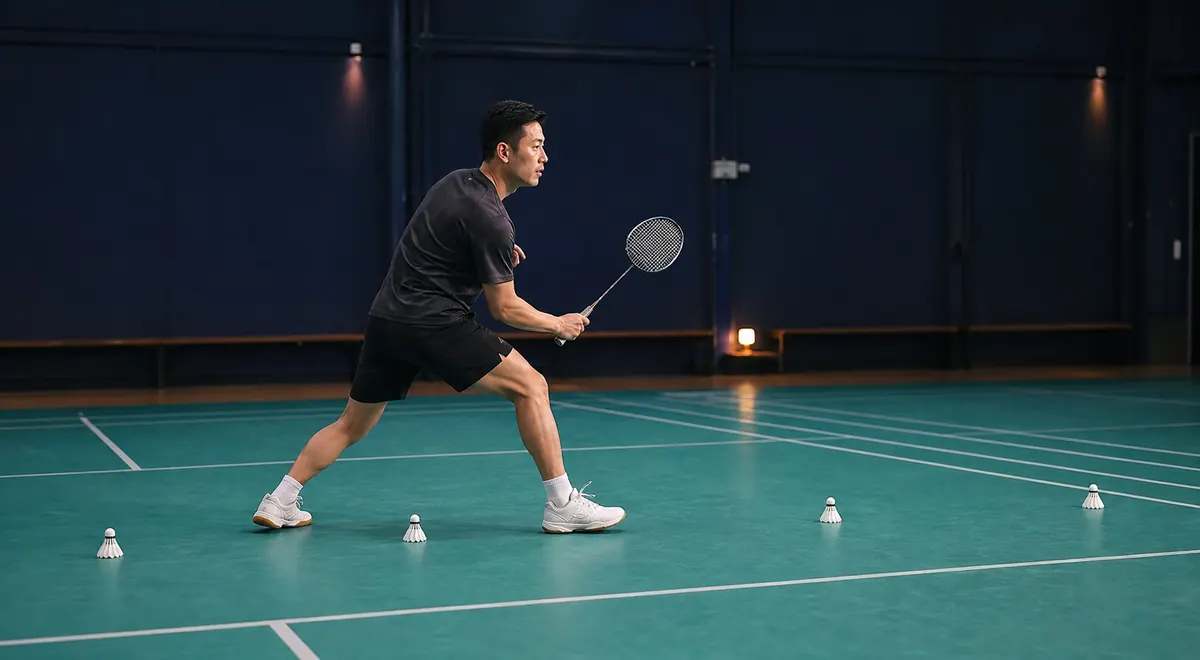
Attacking cross-court clear
A flatter, faster flight can pressure an opponent who is late, moving forward, or protecting the straight side. It gives you less recovery time if the opponent intercepts it.

Cross-court clears: attack, defend, and recover
A cross-court clear sends the shuttle diagonally toward the opponent's rear court. The longer route can move an opponent or create recovery time, but inadequate height, pace, length, or recovery can expose your own court.
Browse all technique guides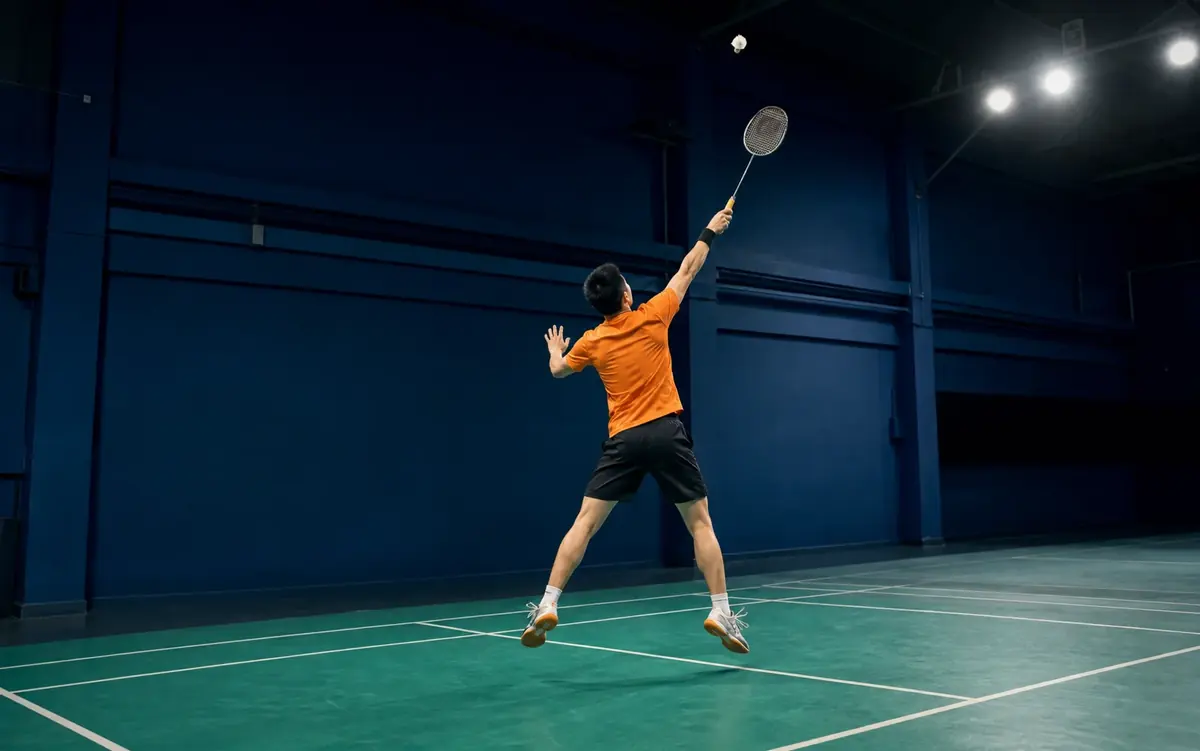
This guide uses source-based editorial review informed by Badminton World Federation education material and established coaching principles. It does not claim individual review by a named coach. Warm up, build the workload in stages, avoid forcing a wrist snap, and stop if you feel pain.
A clear travels from your forecourt or rear court toward the opponent's back boundary area. A cross-court clear takes a diagonal route, while a straight clear travels toward the rear corner on the same side. The diagonal flight covers more distance and requires enough control to reach a useful depth.
The shot can change the opponent's movement direction, use open rear-court space, or give you time to recover. It also creates risk. A short cross-court clear can arrive in the opponent's hitting zone, and your own straight side may remain open after the opponent contacts the reply.
Use a large rear-court target rather than aiming for a sideline. A useful target sits inside the singles court and short of the back boundary, giving you room for variation while you learn the required height and direction.
A flatter, faster flight can pressure an opponent who is late, moving forward, or protecting the straight side. It gives you less recovery time if the opponent intercepts it.
A higher, deeper flight can create time when you are under pressure. It needs enough height and length to prevent an easy overhead attack.
Play the shot from a balanced position with the shuttle far enough in front to direct the racket face without a late twist. A contact point behind your body reduces your options and makes the longer diagonal route harder to control.
Read the opponent before committing. A cross-court clear can be useful when the far rear corner is open or the opponent has moved forward. If the opponent waits near the centre with time to move, a straight clear may give you a shorter shuttle path and a simpler recovery.
In singles, account for the open straight reply. After sending the shuttle diagonally, recover toward a base that lets you cover a straight drop, straight smash, or clear into the opposite rear corner. Your exact base changes with the quality of your shot and the opponent's contact position.
In doubles, a flat cross-court clear can pass through an opponent's interception area and expose your pair to a fast attack. A high defensive clear may give the rear player time for a full overhead stroke. Recover into an appropriate defensive shape with both players ready for a downward reply.
Avoid cross-court when you are falling away, contacting far behind the body, or unable to recover. A high straight clear can be the more manageable choice under severe pressure.
Start from a ready stance that permits movement in either direction. Use a split step as the opponent strikes, then turn and travel toward the rear court with adjustment steps that place you behind or level with the shuttle where possible.
Keep enough space between your body and racket arm for an overhead action. Reaching across your head from a cramped position can narrow the available swing path and reduce control. On the round-the-head side, rotate and move rather than leaning until balance disappears.
Prepare with a relaxed hand and a grip suited to the specific overhead situation. The initial preparation for straight and cross-court options can look similar, but direction still comes from coordinated body rotation, forearm movement, finger pressure, swing path, and racket-face orientation.
Load within a comfortable range. Players may use a scissor action, a jump, or a grounded transfer depending on time and position. The landing must allow the next movement. Height or force has little value if the player lands off balance and cannot recover.
Meet the shuttle at a repeatable overhead point with room to extend. Contact that drifts behind you often produces a short or uncontrolled diagonal flight.
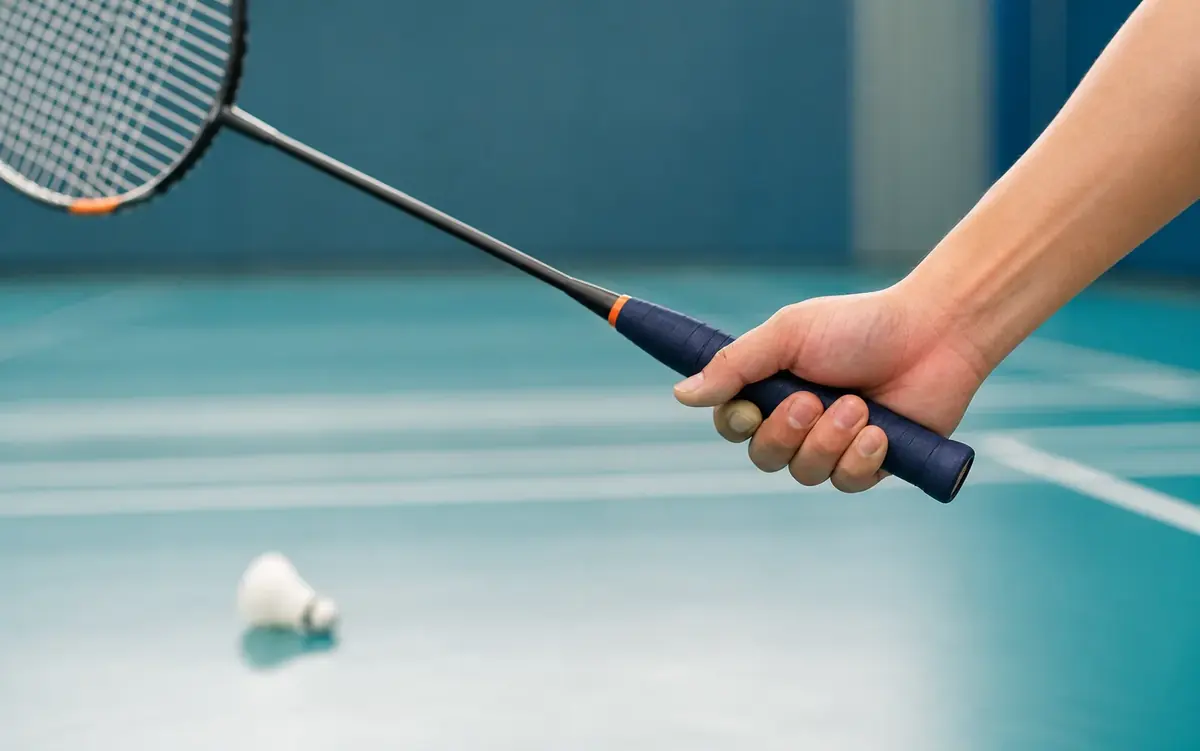
Direct the face through the intended diagonal path with a small coordinated adjustment. Avoid a last-second twist at an extreme wrist angle.
Look for a flight that passes above the opponent's reach and continues toward the rear target with pace. A path that is too low invites interception.
Look for visible height and depth that allow you to land and recover before the opponent strikes. A high shot that drops short still gives away an attack.
On the forehand rear side, move behind the shuttle so the racket can travel through a comfortable overhead path. Use body rotation and forearm action with a relaxed-to-firmer grip change near contact. Do not isolate the wrist as the sole source of speed.
From the round-the-head side, contact the shuttle high enough to retain directional options. A late lean can make the cross-court route tempting, but it may also leave you unable to recover. Use a straight defensive option when the diagonal target is beyond your balanced range.
A true backhand overhead clear requires sound movement, grip change, timing, and contact. Develop the straight backhand clear before adding the longer cross-court route. Players who can move around the head in balance may choose that option instead, depending on position and coaching guidance.
For backhand-side drives or lower defensive contacts, use the grip and swing appropriate to that shot rather than copying an overhead forehand action. The companion grip guide covers those distinctions.
Begin recovery as you land or complete the transfer. Waiting to confirm the shuttle's landing gives the opponent extra time. Keep the racket in front as you return toward a useful base.
Use the flight you produced to choose the base. A deep defensive clear gives you more time and may allow a fuller return toward centre. A flatter attacking clear requires a faster first step and greater attention to interception or a direct straight reply.
In singles, avoid drifting too far toward the side where you played the shuttle. Cover the shortest dangerous reply first while retaining access to the opposite rear corner. In doubles, communicate and settle into the pair's chosen attacking or defensive formation.
Finish each technical repetition with recovery rather than ending the drill at contact. This links shot quality to the next decision and exposes whether the trajectory gave you enough time.
Begin with shadow movement. Move to the forehand rear corner, rehearse the overhead action toward a diagonal target, land under control, and recover. Repeat on the round-the-head side. Use small sets and stop when balance or grip relaxation deteriorates.
Add controlled feeds. Mark a broad target in the opposite rear court and play high defensive clears. Count a repetition when the shuttle reaches the target with enough height for recovery. Reduce effort if shots become short or the contact point moves behind you.
Use a separate target and feed for attacking clears. The shuttle should travel above interception height and reach the rear area with a flatter path than the defensive version. Do not flatten the shot until you can produce reliable length.
Alternate straight and cross-court clears from the same feed. Keep the preparation similar, select the direction before the forward swing, and recover according to the shot. This drill tests direction without requiring late deception.
Add a decision cue. The feeder can stand or move toward one side, prompting you to use the open rear area when your balance permits. A second cue can require a safer straight clear when the feed places you under pressure.
Finish with conditioned rallies. Award the point through normal play, but require a cross-court clear only when a defined tactical cue appears. This prevents the drill from teaching cross-court as the default choice.
Reduce speed, regain balance, and check whether contact has moved behind you. Build height and length before flattening the trajectory.
Use a larger target and check racket-face direction at contact. Remove any last-second wrist twist.
Increase height or choose a straight route. Check whether you selected an attacking clear from a late position.
Include the first recovery step in every shadow repetition instead of waiting for the shuttle to land.
Keep the initial preparation similar to the straight option, but do not delay contact or force an exaggerated disguise.
Stop the drill. Reduce load and seek qualified assessment if discomfort persists or returns.
Primary references
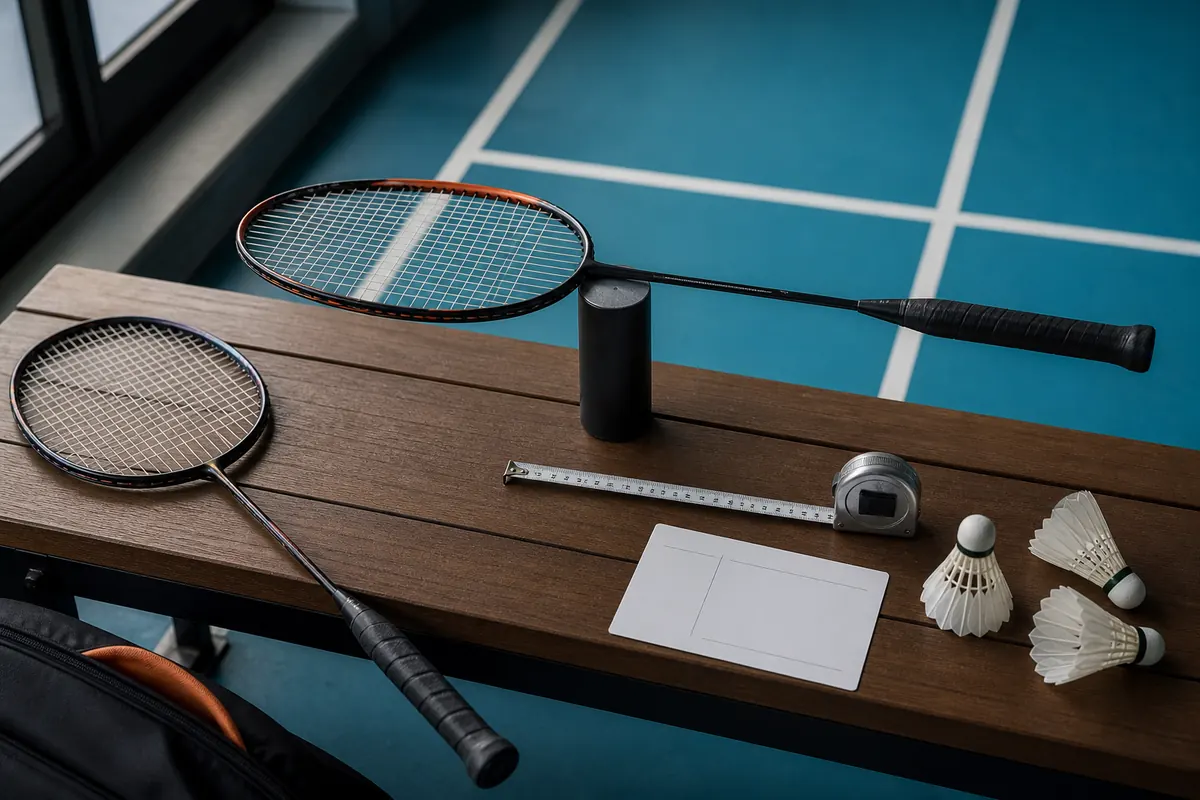
Technique and equipment terminology is checked against the Badminton World Federation Shuttle Time programme and the current BWF Laws of Badminton. These are document sources, not a claim of individual coaching review.
Grip control for cross-court shotsStudy forehand, thumb, and bevel foundations plus small pressure and racket-face adjustments.Badminton technique libraryReturn to the learning hub for progression and safety guidance.Apacs Dual Power & Speed racket referenceSee how racket setup is discussed without treating equipment as a shortcut to sound movement.Li-Ning SS 68 G4 racket referenceReview an older racket model whose exact specifications require confirmation.Editorial policyRead the standards for technical sourcing and reviewer claims.